Why Does My Bread Collapse? 7 Common Causes (and Fixes)
Few things are more disappointing than pulling a loaf out of the oven, only to watch it sink or flatten right in front of you. After all the time it takes to make bread from scratch, a collapsed loaf can feel like a real letdown.
The good news is that bread collapse almost always traces back to one of a handful of common causes. Here’s what usually goes wrong, and how to fix it.
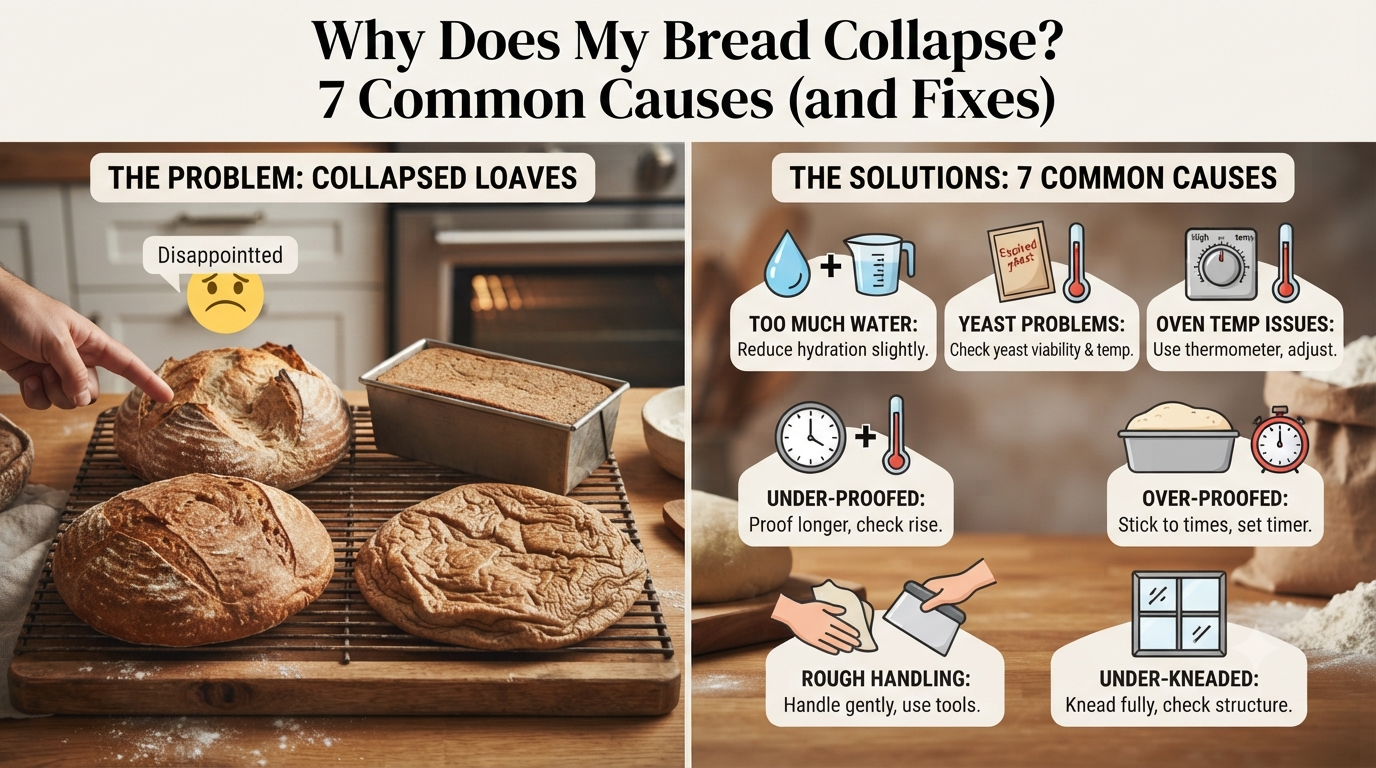
Quick Reference: Common Causes and Fixes
| Cause | What Happens | Quick Fix |
|---|---|---|
| Too much water | Dough stays too moist, collapses while cooling | Reduce water slightly, or bake a bit longer |
| Yeast problems | Bread doesn’t rise properly | Test yeast before use, use the right amount |
| Wrong oven temperature | Bread browns too fast or stays doughy inside | Get to know your oven’s true temperature |
| Under-proofed dough | Weak gluten structure, dough collapses | Proof longer, especially in a cold kitchen |
| Over-proofed dough | Yeast exhausts itself, dough flattens | Stick closely to proofing times |
| Rough handling | Gluten mesh breaks, gases escape | Handle dough gently, use a bench scraper |
| Under-kneaded dough | Dough rises fast, then collapses quickly | Knead fully, try the windowpane test |
1. Too Much Water in the Dough
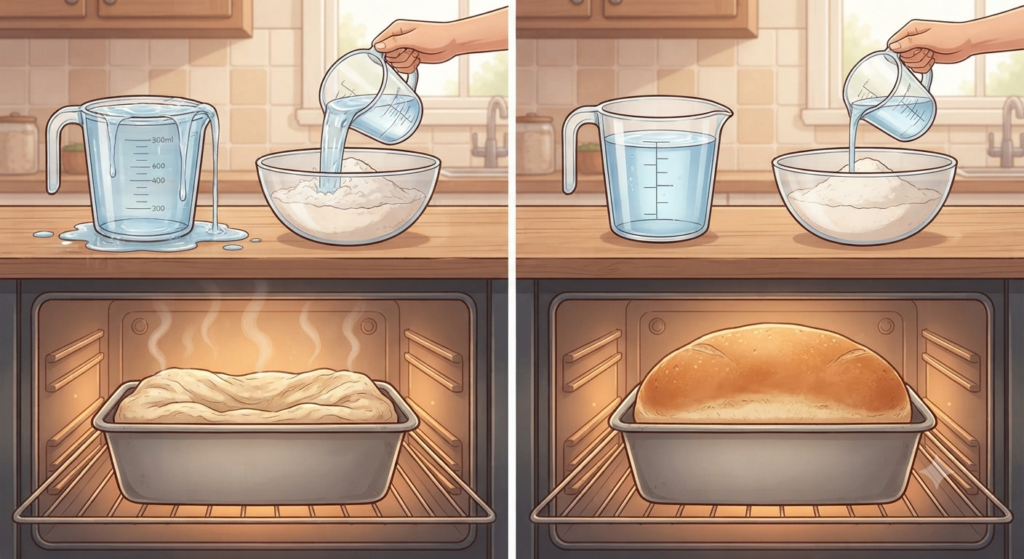
Water is essential for building the gluten mesh that gives bread its structure, but too much of it can work against you. Extra moisture in the dough often causes bread to collapse as it cools after baking, especially in quick breads, which usually need a drier dough to avoid shrinking.
The fix: Cut back slightly on water next time you bake, or try leaving the bread in the oven a little longer to let more moisture evaporate before it comes out.
2. Problems With the Yeast
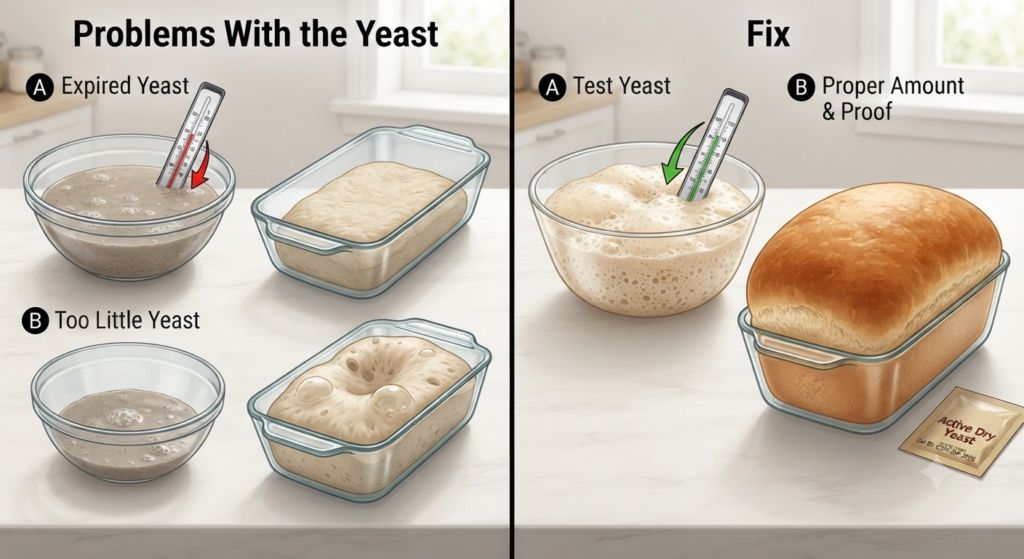
Yeast is a living organism, and if it’s been sitting in your cabinet a while, it can weaken or die entirely. Using expired or old yeast means your bread won’t rise properly, and it may collapse as a result.
Using too little yeast causes a similar problem. A small amount of yeast needs extra proofing time to build the gluten mesh that helps bread rise. Skip that extra time, and the dough may collapse either in the oven or right after you take it out.
The fix: Test your yeast before baking if you’re not sure how fresh it is, and make sure you’re using the amount your recipe calls for. If you do use less yeast, give the dough extra time to proof.
3. Oven Temperature Issues
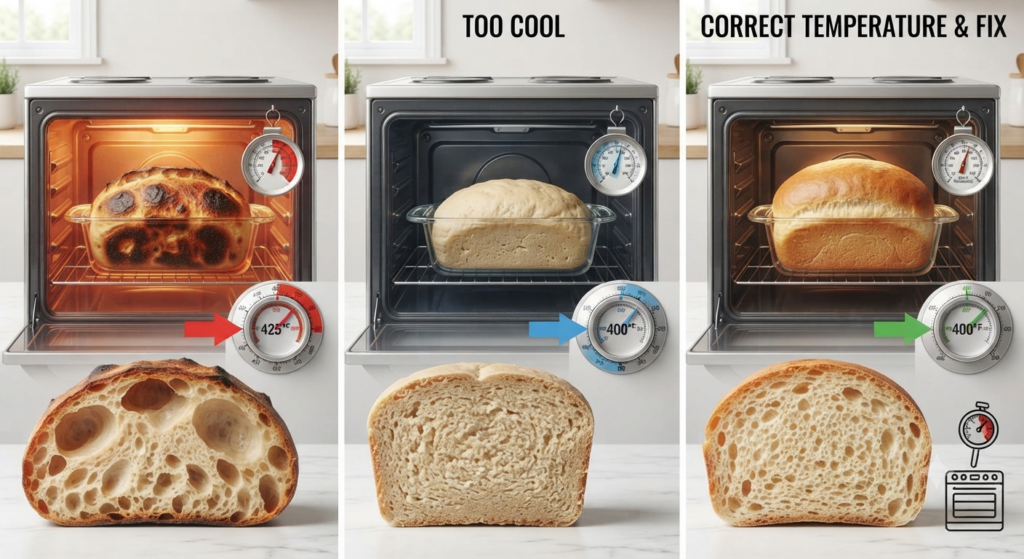
Not every oven bakes exactly at the temperature it’s set to. Some run hotter, some run cooler, and either one can throw off your bread.
An oven that runs hot can brown the outside of your loaf while leaving the inside doughy, which often leads to collapse once you take it out. An oven running cool can leave your bread dense and under-risen.
The fix: Get to know your oven’s real behavior, ideally with an oven thermometer, and adjust your bake time or temperature accordingly.
4. Not Proofing Long Enough
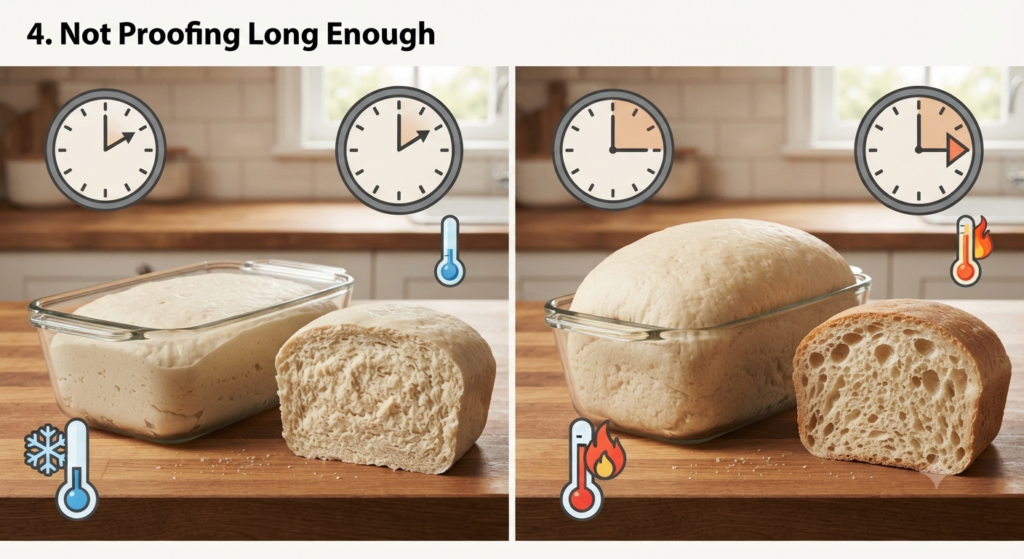
Proofing gives the yeast time to develop the gluten mesh that lets your dough rise and hold its shape. Cut this step short, and that structure won’t be strong enough to support the bread as it bakes.
Proofing time depends heavily on your kitchen’s temperature. A cold kitchen means dough needs more time, while a warmer kitchen speeds things up.
The fix: Check on your dough during proofing rather than relying only on the clock. It may need more time than your recipe suggests, depending on your kitchen’s environment.
5. Over-Proofing the Dough
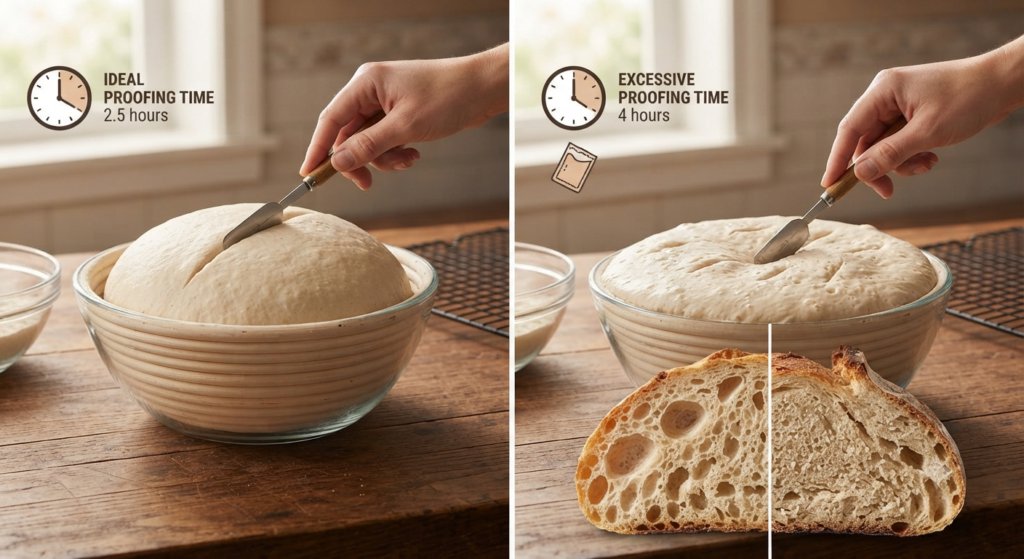
If your dough collapses the moment you slash it or transfer it into the pan, that’s usually a sign it’s been over-proofed. This is the point in the process where dough is most fragile.
Over-proofed dough collapses because the yeast has used up its energy, and it can no longer produce enough gas to keep the bread rising once it hits the oven. The dough has also often expanded as much as it possibly can beforehand, leaving nowhere for it to go but down.
This tends to happen more with longer, multi-hour bread recipes, where it’s easy to lose track of exact proofing time.
The fix: Stick closely to your recipe’s proofing time, and set a timer so you don’t accidentally over-proof while multitasking.
6. Rough Handling of the Dough
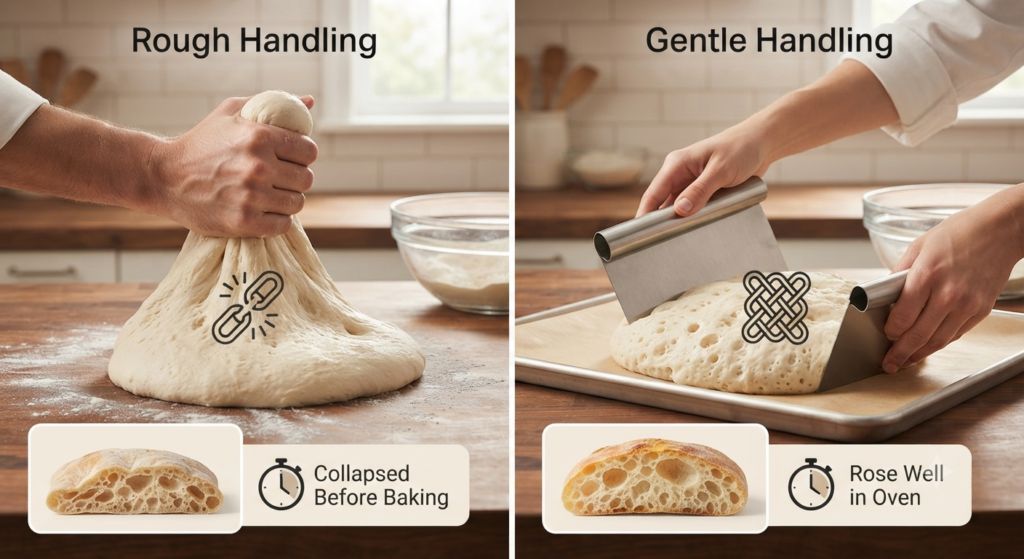
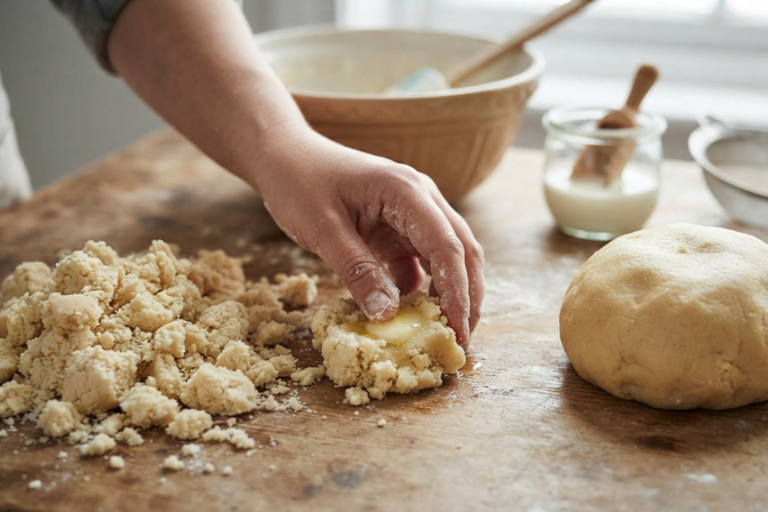
High-hydration doughs, like ciabatta, are especially delicate. Handling them roughly, such as slamming the dough on the counter, can break the gluten mesh and let trapped gases escape. Once that happens, the dough may collapse either before or during baking.
The fix: Be gentle when handling any bread dough, and use tools like a bench scraper to move it without applying unnecessary pressure.
7. Not Kneading Enough
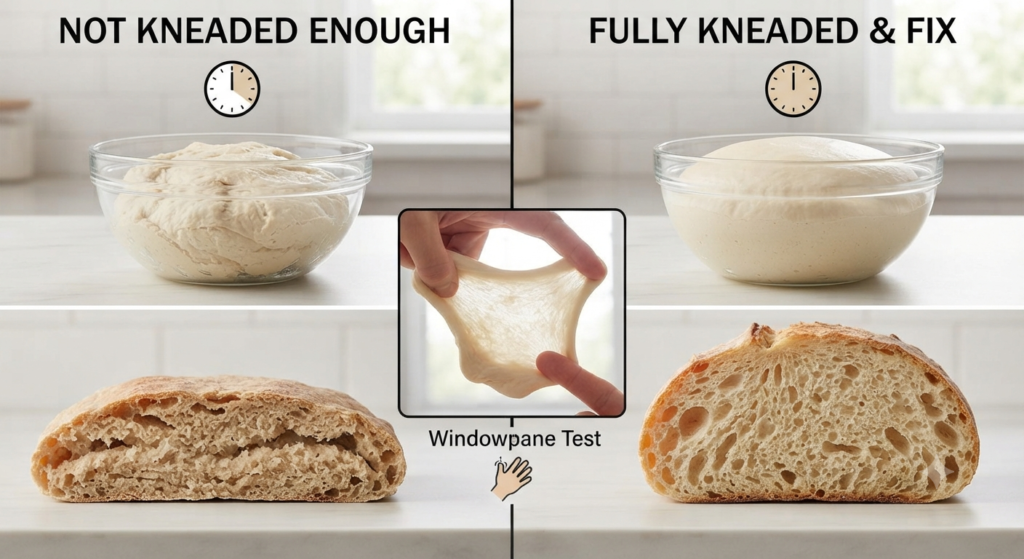
Kneading builds the gluten structure that lets your dough rise and stay risen. Skip or shorten this step, and the dough may rise quickly at first, then collapse soon after, since the gluten mesh isn’t strong enough to hold in the gas.
The fix: Knead for the full time your recipe calls for. To double check your dough’s gluten strength, try the windowpane test: stretch a small piece of dough between your fingers. If it stretches into a thin sheet you can see light through without tearing, the gluten is well developed.
Why Does Sourdough Collapse Specifically?
Sourdough takes considerably more time and effort than regular bread, which makes a collapsed loaf especially frustrating.
If none of the causes above seem to fit your situation, take a closer look at your starter. A starter that’s too young, too weak, or hasn’t been fed consistently can prevent your sourdough from rising properly, leading to collapse.
The fix: Feed your starter once or twice a day for about two weeks before baking with it, to make sure it’s strong and active enough to support a full loaf.
A Few More Things to Watch For
If you’ve addressed everything above and your bread is still collapsing, a few smaller details can also make a difference:
- Try a different flour. Some flours offer more structural support than others.
- Shape your dough properly. Poor shaping affects how well bread rises, especially if you’re baking free-form rather than in a loaf tin.
- Score gently. Cutting too aggressively into the dough’s surface can cause it to collapse.
- Don’t skip the salt. Salt plays a role in how well your dough rises, and leaving it out can lead to collapse.
- Measure your flour carefully. Yeast relies on the right amount of flour to properly raise the dough.
- Keep salt away from yeast directly. Adding salt straight onto your yeast can kill it before it has a chance to work.
Final Thoughts
Bread collapse can come from a lot of different directions, from too much water to a tired sourdough starter. Working through these causes one at a time, rather than guessing, is the fastest way to figure out what went wrong and fix it for your next loaf.